Learning how to sew is a valuable skill that opens up a world of possibilities for creating and repairing garments. One fundamental sewing technique that every aspiring sewist should master is hemming. Hemming allows you to shorten or adjust the length of pants, giving them a professional and polished finish. In this comprehensive guide, we will walk you through the step-by-step process of hemming a pair of pants, from gathering the necessary tools and materials to executing the hemming technique with precision. Whether you’re a beginner or have some sewing experience, this guide will equip you with the knowledge and confidence to achieve perfectly hemmed pants that fit you perfectly.
Hemming is not only a practical skill but also a money-saving one. Rather than relying on professional tailors for simple alterations, being able to hem your own pants allows you to take control of your wardrobe and make adjustments at your convenience. Additionally, by hemming your pants, you can achieve a customized fit that complements your body shape and personal style. So, grab your sewing machine, thread, and scissors, and let’s delve into the world of sewing basics with the art of hemming pants.
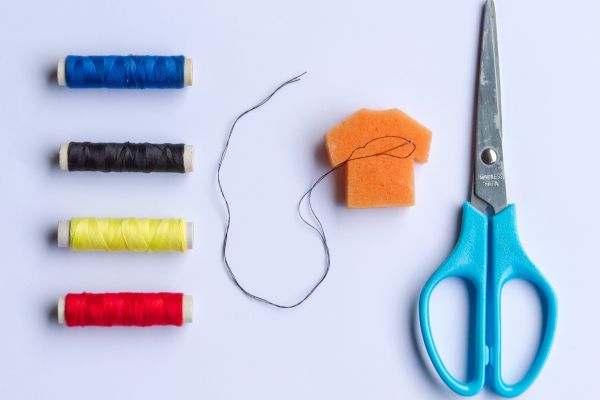
Gathering Tools and Materials
Before you begin hemming your pants, gather all the necessary tools and materials. You’ll need a sewing machine, a pair of sharp fabric scissors, straight pins, matching thread, a measuring tape or ruler, and an iron. Make sure your sewing machine is in good working condition and the necessary presser foot for hemming is installed. Choose a thread color that matches your pants or opt for a color that complements the fabric. Having all the tools and materials on hand will ensure a smooth and efficient hemming process.
Preparing the Pants
Start by preparing the pants for hemming. Try on the pants and determine the desired length. Use a measuring tape or ruler to measure the length from the bottom of the pants to the desired hemline. Mark this measurement with pins or fabric chalk on both pant legs, ensuring the lines are straight and even. Take into account any desired allowances for the hem and factor in the type of hem finish you prefer. If the pants have an existing hem, remove it carefully using a seam ripper to create a clean edge for the new hem.
Cutting the Excess Length
With the desired length marked, it’s time to cut the excess length from the pants. Leave a sufficient allowance for the new hem, typically around 1-2 inches depending on the fabric and desired hem finish. Use sharp fabric scissors to cut across both pant legs, following the marked lines. Take your time and make clean and straight cuts to ensure a professional-looking hem. Double-check the length after cutting to ensure it matches your desired measurement.
Pressing the Hem
Pressing the hem is an essential step that ensures a crisp and polished finish. Use an iron to press the excess fabric up towards the wrong side of the pants. Start by folding the fabric up to the desired hemline, following the marked line. Pin the folded fabric in place, ensuring it lies flat and smooth. Then, carefully press the folded fabric with an iron, applying even heat and pressure. Make sure to press along the entire length of the hem to set the fold and create a clean edge.
Securing the Hem with Pins
To keep the folded fabric in place while you sew, secure the hem with straight pins. Insert the pins vertically along the folded edge, placing them about an inch apart. Ensure the pins go through both layers of fabric, securing them firmly. The pins will hold the fabric in place and prevent it from shifting as you sew. Take care when pinning to avoid any puckering or distortion of the fabric. Check the pinned hem for evenness and adjust if needed before moving on to the sewing machine.
Choosing the Stitch Type and Adjusting the Sewing Machine
Select the appropriate stitch type for hemming your pants. Depending on your sewing machine and the desired finish, options include a straight stitch, a blind hem stitch, or a zigzag stitch. For most fabrics, a straight stitch is sufficient, but if you’re working with lightweight or stretchy materials, a zigzag or blind hem stitch may be more suitable. Set your sewing machine to the chosen stitch and adjust the stitch length and width as necessary. Practice on a scrap piece of fabric to ensure the stitch is balanced and suitable for the fabric.
Sewing the Hem
With your sewing machine set up, it’s time to sew the hem. Begin by positioning the fabric under the presser foot, ensuring the folded edge is aligned with the edge of the presser foot. Lower the presser foot and hold the thread tails at the beginning of the seam to prevent any tangling or loose stitches. Start sewing at the side seam or inner leg seam, backstitching a few stitches to secure the beginning of the seam. Sew along the entire hemline, removing the pins as you go. Maintain an even seam allowance and stitch length, keeping the fabric smooth and flat. Backstitch again at the end of the seam to secure the stitches.
Pressing the Hem Again
After sewing the hem, press it once again with an iron. This step helps set the stitches and gives the hem a professional finish. Use a pressing cloth if necessary to protect delicate fabrics. Press the hem from the wrong side of the fabric, applying even heat and pressure. Ensure the folded edge is crisp and the stitches are well-formed. Take the time to press along the entire length of the hem, paying attention to any curved or angled sections. A well-pressed hem adds the final touch to your perfectly hemmed pants.
Finishing the Raw Edge (Optional)
If desired, finish the raw edge of the fabric to prevent fraying. One option is to use a serger or overlocker to create a clean and secure edge. Alternatively, you can use a zigzag stitch or an overcasting stitch on your sewing machine to enclose the raw edge. This step is particularly useful for fabrics that tend to fray easily. Experiment with different finishing techniques on scrap fabric to find the method that works best for your chosen fabric and desired aesthetic.
Trying on the Hemmed Pants and Making Adjustments
Once you’ve completed the hem, try on the pants to ensure they fit as desired. Check the length and the overall look of the hem. Make any necessary adjustments or alterations to achieve the perfect fit and finish. If the pants are still too long, you can repeat the process and trim off additional length. If you find any areas that require re-stitching or fine-tuning, make the necessary adjustments before considering the hemming process complete.
Conclusion
Congratulations! You’ve successfully learned how to hem a pair of pants, a valuable skill that allows you to customize the length and fit of your garments. By following this comprehensive guide, you’ve gained the knowledge and confidence to tackle hemming projects with ease. From gathering the necessary tools and materials to preparing the pants, cutting the excess length, pressing the hem, and sewing with precision, each step contributes to achieving a professional and polished hem.
Remember, practice makes perfect. As you continue to hem more pants and work with different fabrics, you’ll refine your skills and develop your own techniques. Don’t be afraid to experiment with different stitch types, finishes, and methods to achieve the desired result. With time and experience, you’ll become a proficient hemmer, able to transform ill-fitting pants into perfectly tailored garments.
Now that you’ve mastered the art of hemming pants, you can confidently tackle other sewing projects and explore the world of garment alterations and customizations. Enjoy the satisfaction that comes from creating well-fitting, stylish, and personalized clothing. So, bring out your sewing machine, grab your fabric scissors and thread, and let your newfound hemming skills elevate your wardrobe to new heights. Happy sewing!